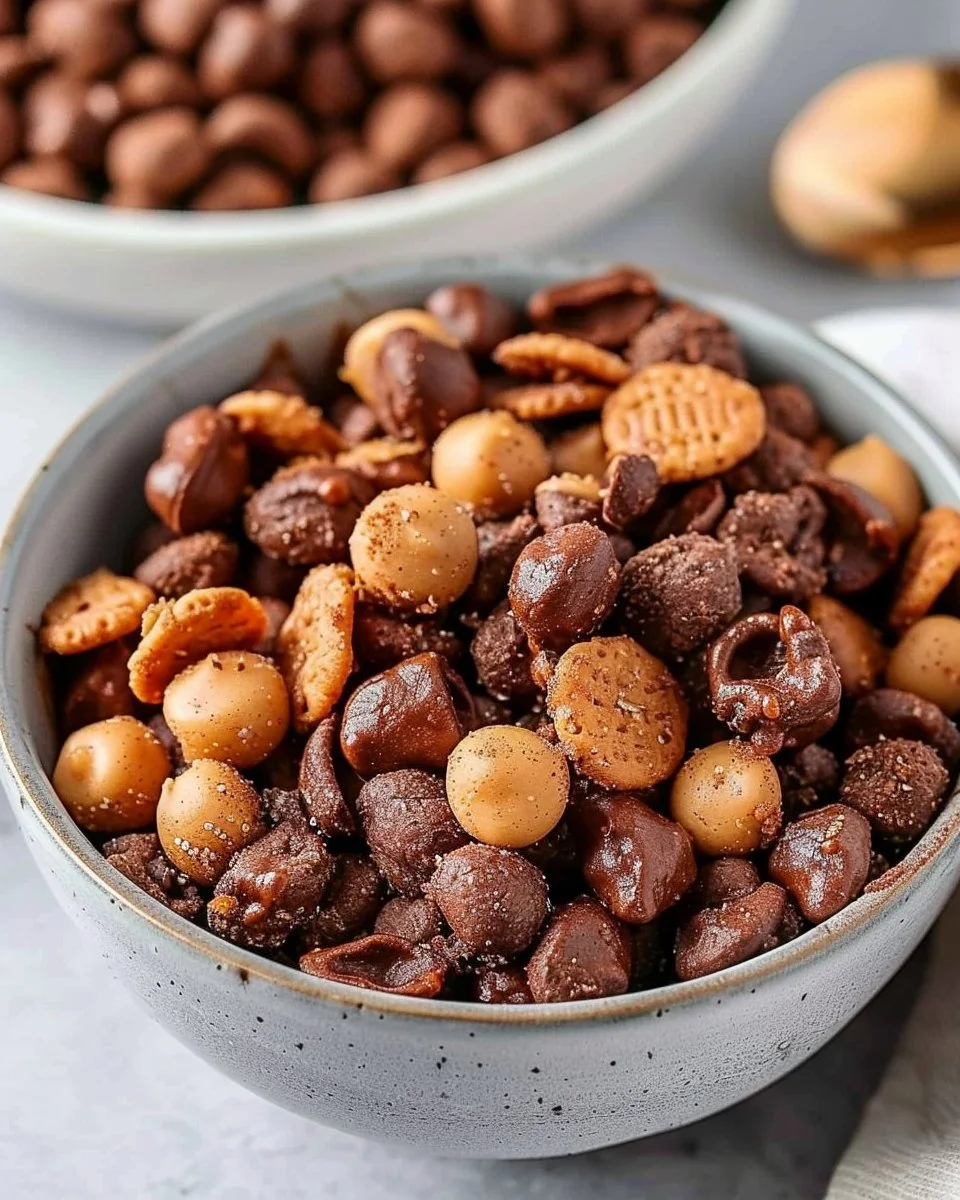
Indulge in Homemade Chocolate Peanut Butter Cereal
Are you searching for a delicious breakfast that combines the rich flavors of chocolate and peanut butter? Well, look no further! Homemade Chocolate Peanut Butter Cereal is not just another breakfast; it’s a sweet, satisfying start to your day that indulges your cravings without the guilt. With each crunchy bite, you’ll experience the warm embrace of nostalgia while fueling your body for whatever challenges lie ahead. Let’s dive into the magic of creating this delightful cereal right in your own kitchen.
Why Homemade Cereal Beats Store-Bought
Why does this matter? The world is overflowing with processed cereals boasting flashy packaging and charming mascots, but the reality is often full of added sugars, artificial flavors, and unwanted preservatives. By making your own homemade chocolate peanut butter cereal, you gain control over the ingredients and can tailor the flavor to suit your preferences. Plus, you get the added satisfaction of crafting something from scratch!
Key Benefits of Making It Yourself
- Customizable: Adjust the sweetness, crunch, and flavors to your liking. Want it nuttier? Add some chopped nuts!
- Healthier Options: Use natural sweeteners and healthier fats, avoiding the high sugar contents found in many commercial cereals.
- Freshness Guaranteed: Nothing beats the taste of a freshly made cereal right out of the oven.
Ingredients You’ll Need

Creating this delectable homemade chocolate peanut butter cereal doesn’t require a long shopping list. Here’s what you need to gather:
- 1 cup all-purpose flour
- 1/3 cup granulated white sugar (or coconut sugar)
- 1/4 tsp baking powder
- 1/4 tsp baking soda
- 6 tbsp unsweetened plant-based milk
- 1 tbsp canola oil
- 1/2 cup powdered peanut butter
- 2 tbsp peanut butter
- 3 tbsp unsweetened plant-based milk
- 2 tbsp cocoa powder
Step-by-Step Guide to Your New Favorite Cereal
Step 1: Preheat and Prepare
Begin your adventure by preheating your oven to 350°F (175°C). Line a baking sheet with parchment paper to prevent sticking.
Step 2: Combine Dry Ingredients
In a mixing bowl, whisk together the all-purpose flour, granulated sugar, baking powder, baking soda, and cocoa powder until well combined.
Step 3: Mix the Wet Ingredients
In a separate bowl, combine the powdered peanut butter, regular peanut butter, canola oil, and unsweetened plant-based milk (6 tbsp). Blend until smooth.
Step 4: Unite the Mixtures
Gradually pour the wet mixture into the dry ingredients. Mix until just combined; the dough should be somewhat crumbly but hold together.
Step 5: Shape the Cereal
Spread the dough onto the lined baking sheet. Use your hands to flatten it to about 1/4 inch thickness. You can use a knife or pizza cutter to score it into desired cereal-sized pieces.
Step 6: Bake to Crunch Perfection
Place your prepared sheet in the preheated oven and bake for about 15 minutes. Check for crispiness; if needed, add a few more minutes until you achieve that perfect crunch.
Step 7: Cool and Crunch!
Once done, remove from the oven and let it cool completely. Break apart the pieces into clusters and store in an airtight container.

Expert Tips for Ultimate Success
- Experiment with Flavors: Feel free to add in vanilla extract or other spices like cinnamon to elevate flavor.
- Texture Matters: For an added crunch, mix in some nuts or seeds before baking.
- Storage: Keep your cereal in an airtight container at room temperature for up to two weeks. You can also freeze it for longer storage.
Delicious Variations to Try
Feeling adventurous? Here are some unique twists you can take on your homemade chocolate peanut butter cereal:
- Banana Bliss: Mix in some mashed ripe banana into the wet ingredients for a fruity touch.
- Nutty Chocolate Chip: Add dark chocolate chips for a chewy texture that complements the crunch.
Common Mistakes to Avoid
- Overmixing the Dough: Avoid overmixing when combining wet and dry ingredients; it can lead to tough cereal.
- Not Baking Long Enough: Ensure you bake until crispy; underbaking can result in chewy cereal.
Serving Suggestions for a Delectable Breakfast
Now that your homemade chocolate peanut butter cereal is prepared, how should you serve it? Here are a few delicious ideas:
- Classic Style: Pour a generous amount of your favorite milk over the cereal.
- Layered Parfait: Serve it layered with yogurt and fresh fruit for a delicious parfait.
- Energy Boost: Top it off with banana slices and a drizzle of honey for an extra energy boost.
Nutritional Notes
Crafting your own homemade chocolate peanut butter cereal not only tantalizes your taste buds but also offers you nutritional benefits. You can adjust the sugar content and experiment with healthier oils or nut butters that suit your dietary needs.
FAQs About Homemade Chocolate Peanut Butter Cereal
Q: Can I use whole wheat flour instead of all-purpose flour in the homemade chocolate peanut butter cereal?
A: Yes, whole wheat flour can be a healthier option and will add a nutty flavor to your cereal.
Q: How can I make my cereal crunchier?
A: Bake a little longer, or consider increasing the amount of powdered peanut butter for added crunch.
Q: Is homemade chocolate peanut butter cereal suitable for a vegan diet?
A: Absolutely! By using plant-based milk and avoiding any non-vegan ingredients, you can craft a delicious vegan breakfast option.
Q: How should I store homemade chocolate peanut butter cereal?
A: Store in an airtight container at room temperature, or for prolonged freshness, keep it in the refrigerator or freezer.
Q: Can I add other flavors or ingredients to the cereal?
A: Yes! Feel free to customize with nuts, seeds, or different spices to create your ideal blend.
Conclusion
Homemade chocolate peanut butter cereal is more than just a breakfast option—it’s a joyful, creative endeavor that allows you to reclaim your mornings while indulging your taste buds. With its customizable nature, you can satisfy cravings and fuel your body in a healthier way. So roll up your sleeves, gather those simple ingredients, and let the delightful aroma fill your kitchen as you bake your new favorite cereal. Happy cooking!
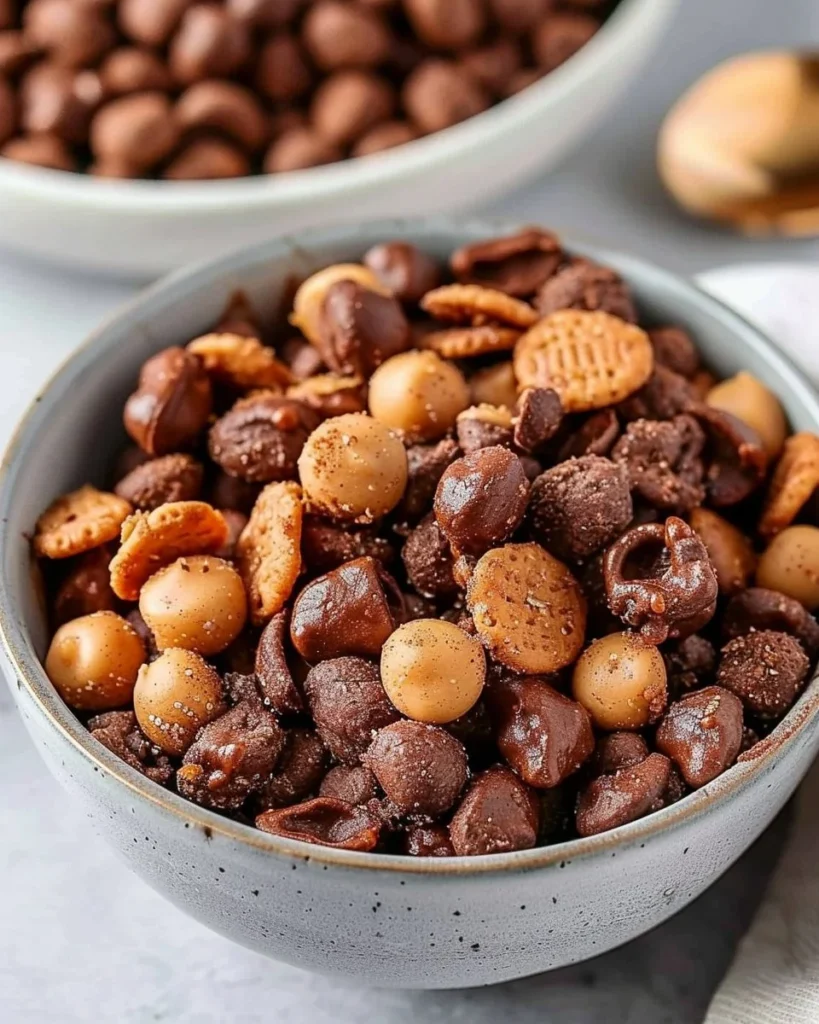
Chocolate Peanut Butter Cereal
Ingredients
Method
- Preheat your oven to 350°F (175°C) and line a baking sheet with parchment paper.
- In a mixing bowl, whisk together the all-purpose flour, granulated sugar, baking powder, baking soda, and cocoa powder until well combined.
- In a separate bowl, combine the powdered peanut butter, regular peanut butter, canola oil, and 6 tbsp of unsweetened plant-based milk. Blend until smooth.
- Gradually pour the wet mixture into the dry ingredients. Mix until just combined; the dough should be somewhat crumbly but hold together.
- Spread the dough onto the lined baking sheet and flatten it to about 1/4 inch thickness. Score it into desired cereal-sized pieces.
- Place the sheet in the preheated oven and bake for about 15 minutes, checking for crispiness. Bake longer if necessary.
- Remove from the oven and let cool completely. Break the pieces into clusters and store in an airtight container.